It cannot rescue an unclear concept
A polished prompt cannot compensate for a scene with several competing subjects, actions, and locations.
Workaround
Reduce the idea to one subject, one action, and one setting before adding visual style.
BEGINNER VIDEO GUIDE
This guide to how to use higgsfield ai for beginners walks through a simple path from idea to usable video. Start with one clear scene, test a short prompt, then refine only what needs changing.
NEXT STEPS
You do not need editing experience or a complex production setup. Prepare a focused idea, one visual reference if available, and enough time to review several short variations.
Keep the first attempt deliberately small. A short, single-subject clip gives you a clear result to assess and makes each later change easier to understand.
Decide what the viewer should notice first: a person walking, a product turning, a landscape reveal, or a camera move. Write the goal in one sentence before adding style details.
Describe the subject, action, setting, lighting, camera movement, mood, and output feel in that order. Specific language such as slow dolly-in or waist-level tracking is more useful than vague praise like amazing or professional.
Generate a first version, then inspect motion, subject consistency, framing, and unwanted objects. Change one variable at a time so you know which edit improved the result.
Most disappointing first outputs come from overloaded prompts or unclear motion instructions. Compare the intent of a rough request with a more testable version before rewriting everything.
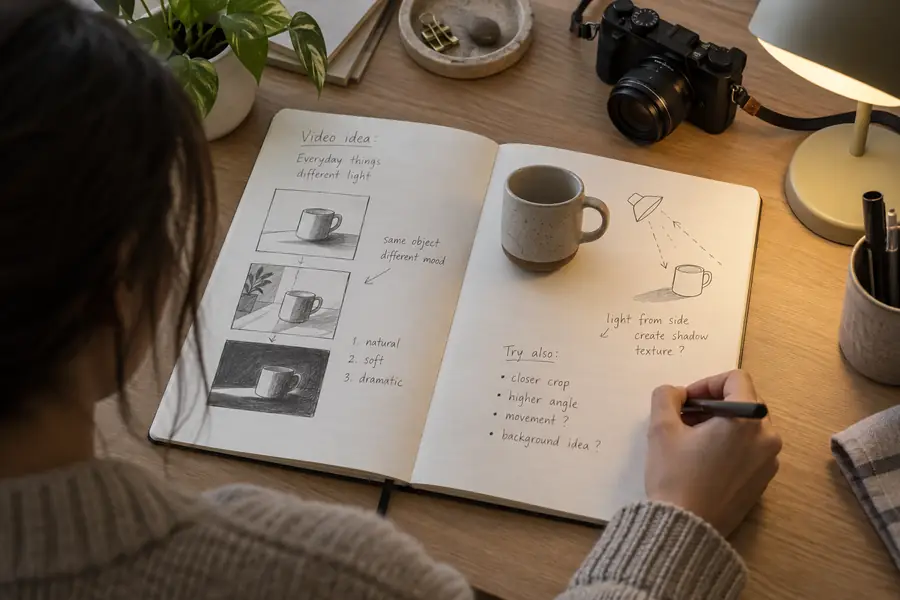 Unclear first prompt
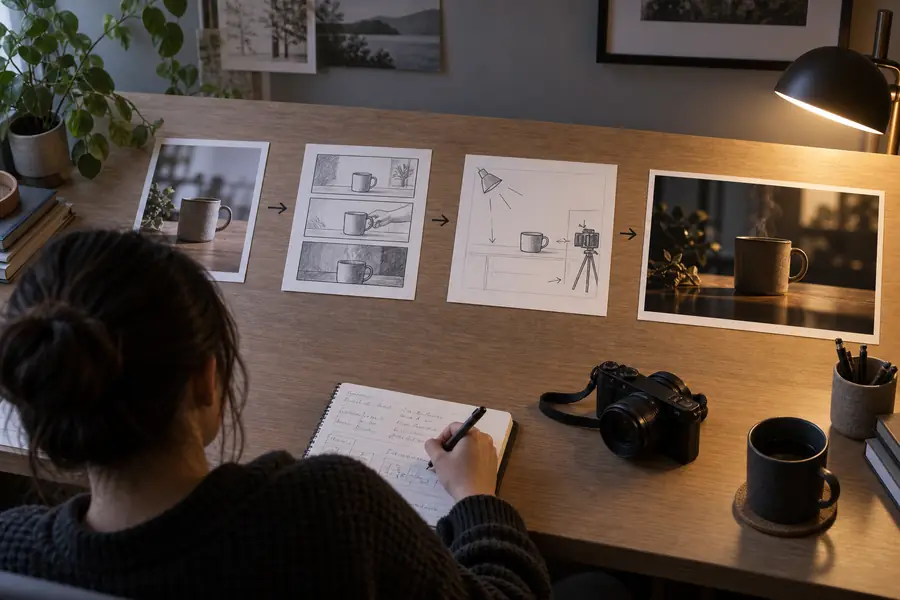 Focused revised prompt
Once the basic workflow feels predictable, improve consistency by treating prompts like shot notes. Preserve the parts that work and make controlled revisions instead of starting from zero.
Use this side-by-side checklist while iterating. The right column is not about adding more words; it is about making each instruction easier to interpret.
Subject
First attempt
A person in a city
Refined attempt
A cyclist wearing a yellow rain jacket
Action
First attempt
Moving through the scene
Refined attempt
Riding slowly from left to right
Camera
First attempt
Cinematic camera
Refined attempt
Low side-tracking shot at walking speed
Setting
First attempt
A beautiful street
Refined attempt
Wet stone alley with warm shop lights
Lighting
First attempt
Good lighting
Refined attempt
Soft overcast daylight with reflected highlights
Mood
First attempt
Professional and exciting
Refined attempt
Quiet, atmospheric, editorial
Revision method
First attempt
Rewrite the entire prompt
Refined attempt
Keep the successful details and change one issue
A beginner workflow has useful boundaries. Knowing what this route cannot guarantee helps you choose realistic shots and avoid wasting time on impossible corrections.
A polished prompt cannot compensate for a scene with several competing subjects, actions, and locations.
Workaround
Reduce the idea to one subject, one action, and one setting before adding visual style.
Characters, hands, faces, clothing, and small objects may shift between frames or across variations.
Workaround
Use simpler movement, stronger reference imagery, and shorter shots when identity matters.
Generated clips may still need trimming, sequencing, sound, captions, or color adjustments before publication.
Workaround
Plan the output as one shot in a larger edit and finish it in the editor you already use.
A prompt may not communicate a required aspect ratio, brand rule, safe area, or platform convention unless you state it clearly.
Workaround
Add delivery requirements after the creative description and check the result at the intended crop.
These beginner questions cover the first decisions people usually face when starting a video workflow with Higgsfield AI.
Start with one short scene and a single visual objective rather than a complete story. Describe the subject, action, setting, camera movement, and mood, then review the first result before making a focused revision.
Include who or what is in the shot, what it does, where it is, how the camera moves, and what the lighting or mood should feel like. Concrete instructions are easier to test than a long list of broad style adjectives.
Inconsistency can come from too many moving elements, ambiguous wording, or a subject that is difficult to preserve across motion. Simplify the shot, use a clearer reference, shorten the action, and change only one instruction at a time.
Make one meaningful change per iteration whenever possible. If the framing is wrong, adjust the camera instruction first; if the subject changes, simplify the action or strengthen the subject description before changing the style.
Beginners can create useful individual shots and short sequences, but a finished video often still benefits from editing, sound, captions, and continuity checks. Treat the generated clip as a production asset that can be arranged and refined in a larger project.